
How to Practice the II–V–I Progression in All 12 Keys

The best way to practice the II–V–I progression in all 12 keys is to connect each progression into the next. Start in C Major (Dm7 – G7 – Cmaj7).
When you reach the Cmaj7, change it to Cm7 and use it as the ii chord of the next key.
Continue around the circle of fourths until you return to C, then move up a half step to C♯m7 to complete the remaining keys.
Here's a closer look.
Start in C Major
Begin with a standard II–V–I in C Major:
Dm7 – G7 – Cmaj7
This is your starting point.
Once you resolve to Cmaj7, you immediately convert it into a minor 7 chord.
Turning Each Resolution Into the Next Key
When you reach Cmaj7, change it to:
Cm7
This becomes the ii chord of the next key.
From here:
• Cm7 → F7 → B♭maj7
Now you are in B♭ Major.
Moving Through the Circle of Fourths
Continue the same pattern:
Cm7 – F7 – B♭maj7
Then convert:
B♭maj7 → B♭m7
Next progression:
B♭m7 – E♭7 – A♭maj7
Then:
A♭m7 – D♭7 – G♭maj7
Then:
G♭m7 – B7 – Emaj7
Each time, the I chord becomes the ii chord of the next key.
Completing All 12 Keys
After moving through six keys, you will return to C Major.
At this point, you have only completed half the keys.
To finish the remaining keys:
• Move up a half step from C to C♯
• Start with C♯m7
• Continue the same cycle through the circle of fourths
This completes all 12 keys.
Why This Exercise Works
This method forces you to internalize harmony instead of memorizing shapes.
It develops:
• Strong key awareness
• Faster chord recognition
• Better voice leading
• Fluency across all 12 keys
• Real-world jazz improvisation readiness
Free Sheet Music
Want a printable reference of the ii-V-I through all keys?
I've notated the ii-V-I through all 12 keys, with alternate chord voicings too:
Next Step
Want to understand the theory behind the II–V–I—and the rest of jazz harmony?
Jazz Theory Explained teaches you jazz chords, progressions, scales, voicings, and improvisation in one concise, 100-page guide.
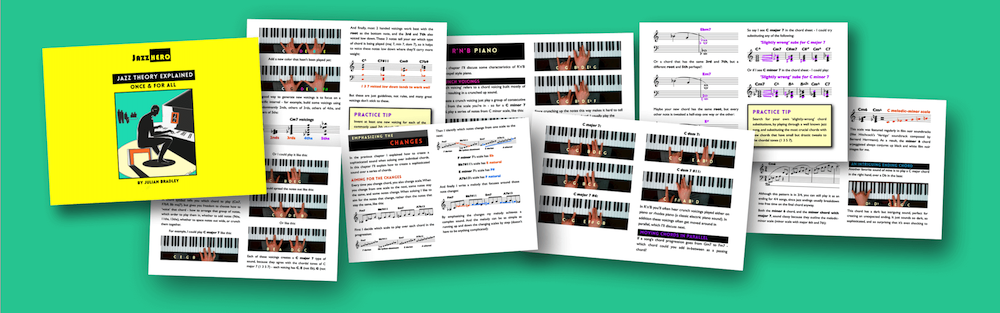
Fill in the gaps. Connect the dots.
Digital PDF · Instant Download · Print at Home · 90 Days Risk-Free
“Within 5 minutes I knew that it was exactly what I’d been looking for for years.” — Steve Schneider, USA