Arranging Jazz Standards on Piano: A Simple Formula That Works 9 Times Out of 10
Prefer to watch? Here's my Jazz Song Arranging Formula Lesson:
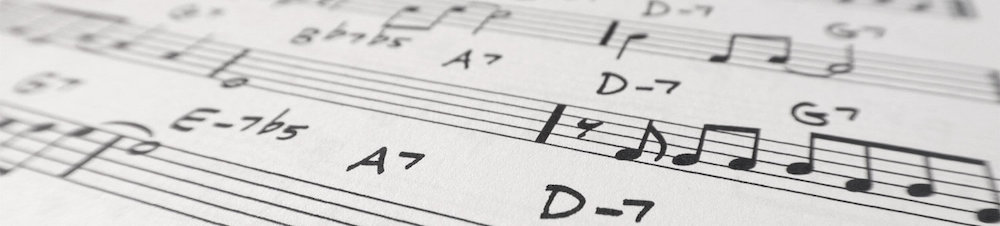
If you’ve ever looked at a jazz standard and thought: “I know the chords… but I don’t know how to turn this into a real piano arrangement” — you’re not alone.
How do you actually go from simple chord symbols and a melody…
…to something that sounds like a complete, playable jazz piano arrangement?
In this lesson, I’m going to walk you through a simple, repeatable jazz piano arranging framework that works for almost any standard. It’s the same approach I use whenever I sit down with a new lead sheet.
We’ll use Misty as the example, but the system applies to most jazz tunes.
The Core Jazz Piano Arrangement Formula: A A B A
At the heart of this approach is one simple idea:
A A B A form
Most jazz standards already follow this structure, so instead of fighting it, we use it as the foundation of the arrangement.
From there, everything else is about what you do inside that structure:
• intro
• texture changes
• fills and improvisation
• dynamics
• ending reharmonisation
Step 1: The Intro — Using the Turnaround
A reliable way to create an intro is to borrow material from the end of the tune.
This is called the turnaround.
In simple terms:
• The turnaround is the last 2–4 bars of the song
• It usually leads back to the top of the form
• It creates instant harmonic familiarity
In this approach, we take the turnaround and use it as the intro.
For Misty, this means using the final harmonic movement (often including chords like E♭ major 6, C minor 7, F minor 7, B♭7).
To make it sound like an intro rather than the ending, you can:
• play it in a higher register
• soften the dynamics
• slightly space out the voicings
This immediately sets up the sound world of the tune before the melody even starts.
Step 2: The A Sections — Melody + Subtle Variation
The A section is usually played twice.
Instead of repeating it mechanically, the key idea is:
never repeat it exactly the same way twice
You can:
• add light melodic embellishments
• change voicings slightly
• insert fills between phrases
This keeps the arrangement alive and avoids sounding like a literal lead sheet performance.
Step 3: “Glitzy Solos” Between Phrases
One of the most practical arranging tools is what we can call gap fills (or in this lesson, “glitzy solos”).
Anytime the melody rests for a bar or two, you can:
• move into a higher register
• add a short improvisation
• outline the harmony creatively
This creates movement and prevents empty space from feeling static.
It also helps you build a full piano texture across:
• low register (bass foundation)
• middle register (harmony)
• high register (sparkle / fills)
Don't skip chord voicings
If you want your arrangements to sound professional – you must learn some Jazz piano chord voicings.
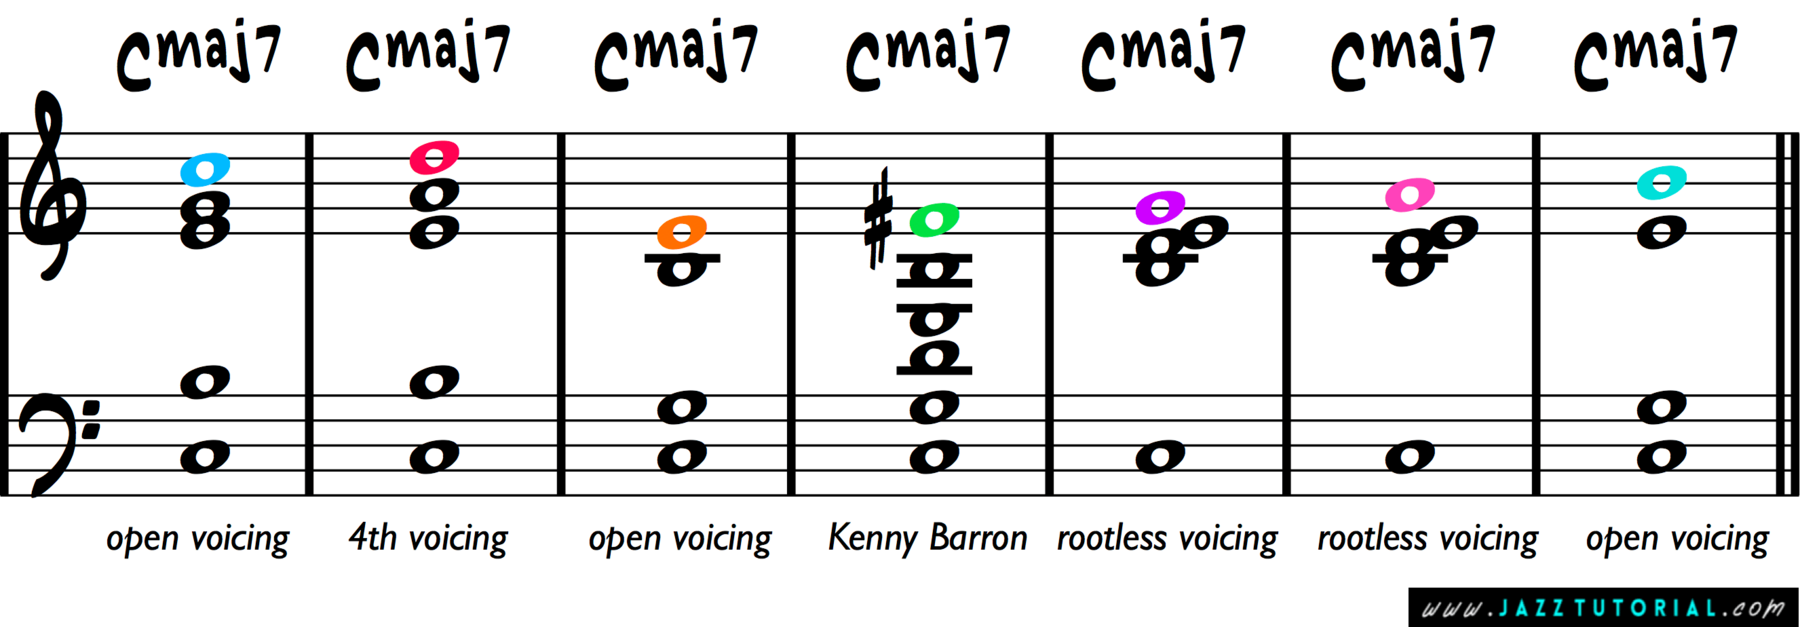
This pack gives you all of my best jazz piano voicings – for major 7, minor 7, and V7 chords:
GET FREE CHORD VOICINGS PACK →
Step 4: The B Section — Increase Energy and Density
The B section is where the arrangement typically lifts.
A simple rule:
• A section = quieter, lighter texture
• B section = louder, more intense texture
Common tools for the B section:
• stride-style left hand for more bass movement
• fuller voicings
• increased dynamic energy
This contrast is what gives the arrangement shape instead of sounding flat.
Step 5: Ending the Tune — Scale-Based Resolution + Reharm
The ending can be approached in two layers:
1. Straight tonal ending
If the tune ends on a major chord (like E♭ major), you can use:
• E♭ Lydian sound
• chord tones (1–3–5–7)
• simple scalar motion into the final chord
2. “Flat II” reharmonisation (color ending)
A common jazz device is:
• move up a half step from the tonic
• build a major 7 chord
• resolve back down into the final chord
This creates a more modern, cinematic ending instead of a simple resolution.
Step 6: The Real Secret — Contrast Is Everything
The entire system really comes down to this:
You are constantly balancing:
• registers (low / mid / high)
• dynamics (soft / loud)
• texture (simple / dense)
• repetition (same / varied)
That’s what turns a lead sheet into an arrangement.
Let's Hear It
Watch me combine these jazz piano arranging techniques in my final performance of Misty—including glitzy upper-register solos, left-hand movement, and A A B A form development:
More Jazz Piano Arranging Techniques
👉 I show more simple jazz piano arranging techniques—like shells, left-hand patterns, and rippling—in this lesson.
Continue to the Jazz Piano Fundamentals Lesson →
Final Summary: The Julian Bradley Arranging Formula
To recap:
• Intro = turnaround from the end of the tune
• Form = A A B A
• A sections = melody + subtle variation
• Fill gaps = “glitzy” improvisation in upper register
• B section = louder, denser, more rhythmic (often stride feel)
• Ending = Lydian sound or flat II reharm
This is a framework you can apply to almost any jazz standard immediately.
Homework
Choose one Jazz Standard from your Fake Book and apply this arranging formula yourself.
Ballads are ideal:
- Tenderly
- Moon River
- Till There Was You
- Taxi Driver theme
- My Funny Valentine
Next Lesson:
👉 My complete Ultimate Guide to Jazz Piano shows you how chords, voicings, improvisation, standards, and theory all connect.
Continue to the Ultimate Guide →
Or focus on one area:
Chord Voicings →
Improvisation →
Beginner Lesson →
I’m Julian Bradley, founder of Jazz Tutorial.
What you get here is one clear teaching philosophy — not a mix of conflicting approaches.
Simple. Structured. No confusion.